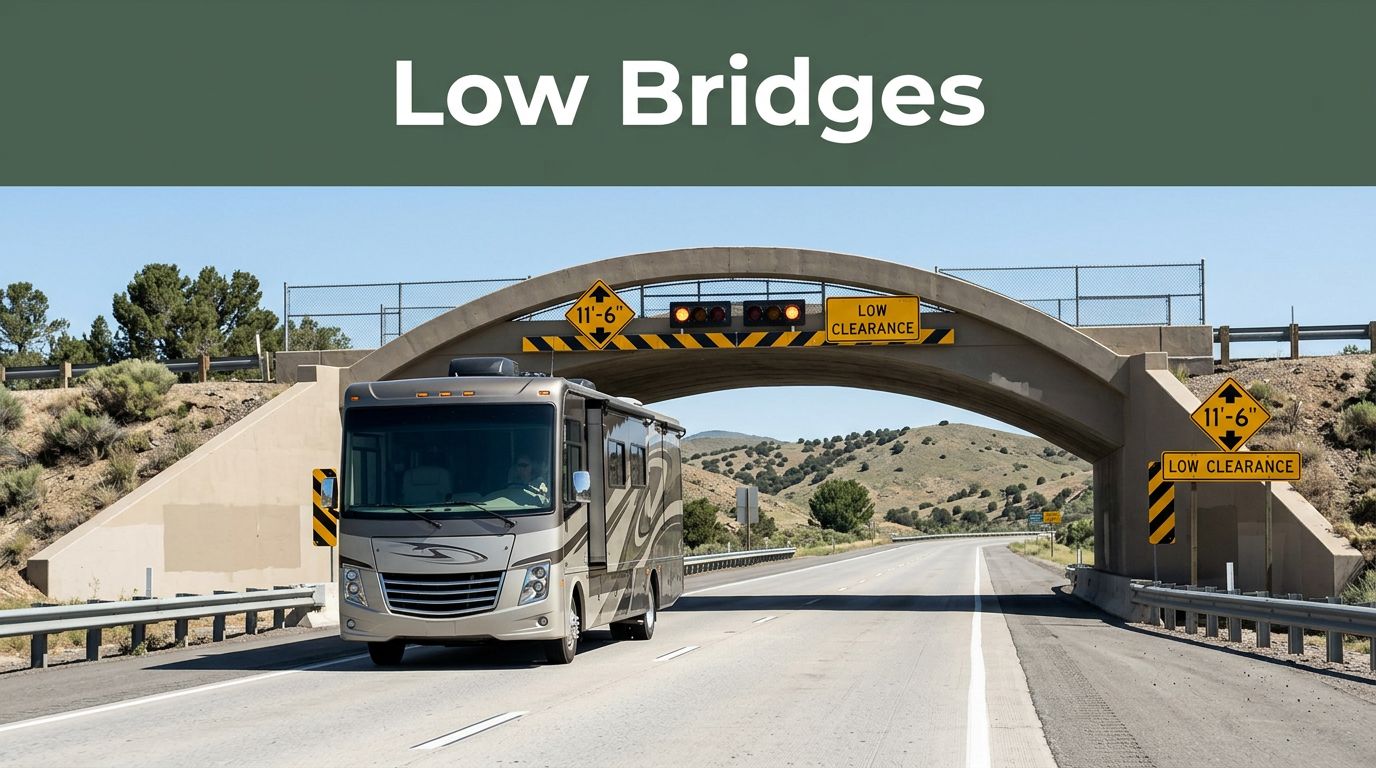
RV Route Planning Tips to Avoid Low Bridges on the Road
One low bridge can turn a good trip into an expensive stop on the shoulder. For RV owners, a bad route choice can damage the roof in seconds, even when the drive feels calm and familiar.
That is why rv route planning needs more than a phone map and a rough guess at your height. If you camp often, travel part-time, or join the ranks of full time rv’ers, a few careful habits can save you money, stress, and lost camping days.
The good news is that safer routing is not hard once you know what to check before you pull out.
Why low bridges catch careful RV drivers off guard
Most low-clearance strikes do not happen because someone drove recklessly. They happen because a driver trusted the wrong tool, missed one sign, or forgot one roof add-on.
A regular GPS can send a tall rig down a road meant for cars. A detour can push you off your planned path. An older parkway may look harmless until the bridge ahead drops lower than expected. Even seasoned RV travelers can get caught when they drive on memory and stop double-checking.
That risk grows when travel days run long. Fatigue makes small details easier to miss, especially late in the afternoon when you want to reach the campground and settle in. For seniors, that extra mental load matters. A route that looks short on the screen can still be the wrong road for a tall coach.
Many owners say the same thing after a close call: they knew better, but they got comfortable. A practical Reddit discussion on avoiding tunnels and low overpasses shows how often complacency plays a part.
The first fix is simple. Slow the planning process down before the keys ever turn. Among all camping tips, this one belongs near the top because it protects your RV before the trip even starts.
Know your true RV height before you leave
Your rig’s listed height is a starting point, not the final word. Roof air units, antennas, solar panels, storage pods, and even suspension changes can alter the real number.
Measure from the ground to the highest fixed point when the RV is loaded for travel. Do it on level ground. Then write that height where you can see it from the driver’s seat. A note on the dash works. A label near the speedometer works too. What matters is that you see it before every questionable bridge, canopy, or tunnel.
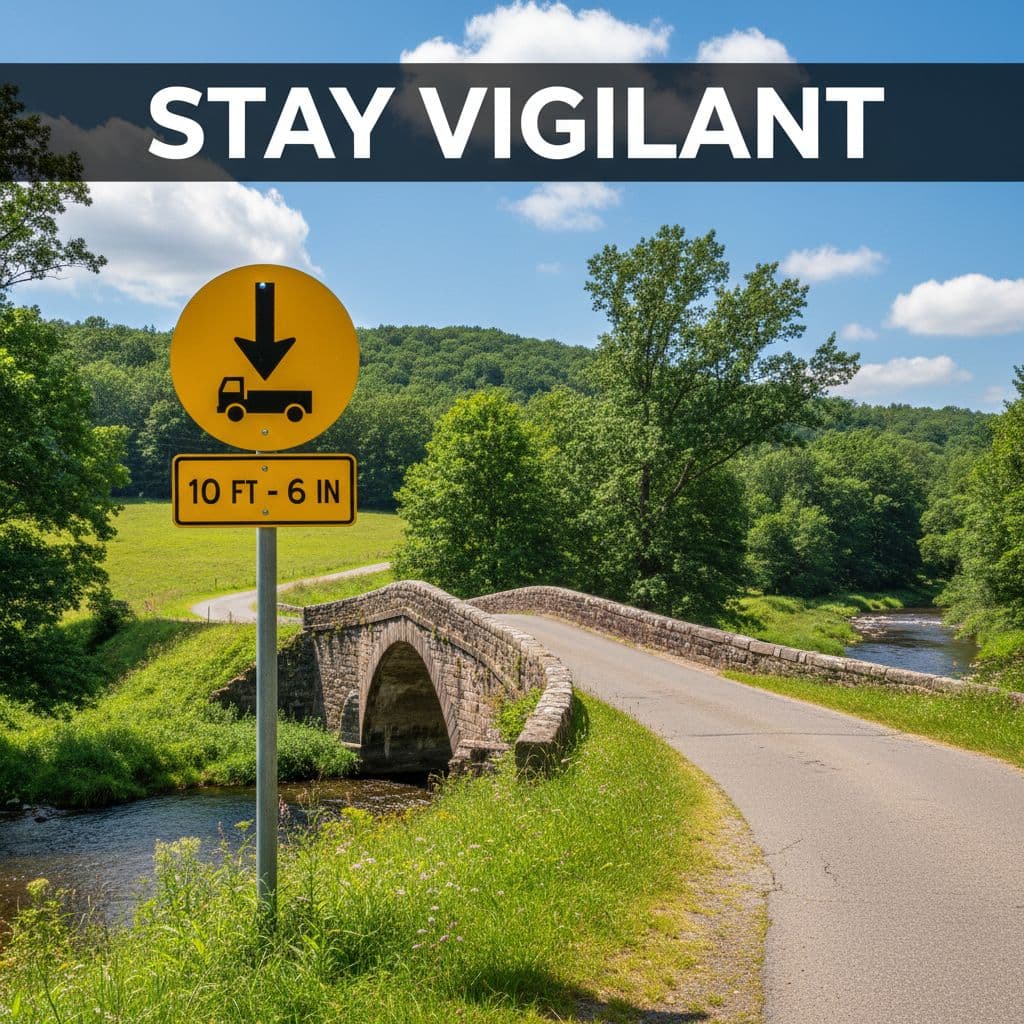
Posted signs matter more than your confidence. If the clearance number looks close, treat it as a problem right away. Road slope, crown, pavement changes, and measurement differences can eat up the margin faster than you think.
If the sign is close to your height, stop, recheck, and take another road.
This habit also helps with hazards that are not bridges. Fuel station canopies, tree limbs, and older campground entrances cause plenty of roof damage. For a solid refresher, Roadtrippers’ guide to RV height clearance covers common trouble spots that many drivers overlook.
A driver who knows the true height of the rig makes better choices all day. That one number shapes every route, every stop, and every backup plan.
Build a safer route with RV-specific tools
Phone maps are great for traffic, but they are not built for tall RVs. That is where many routing mistakes begin. If your app only thinks like a car, it may guide you straight toward a low bridge.
Start with an RV-specific GPS or trip planner that lets you enter your rig’s height. That gives the software a chance to avoid roads with known low clearances and other restrictions. Still, do not treat any device like a final judge. Map data can lag behind road changes, construction, or local detours.
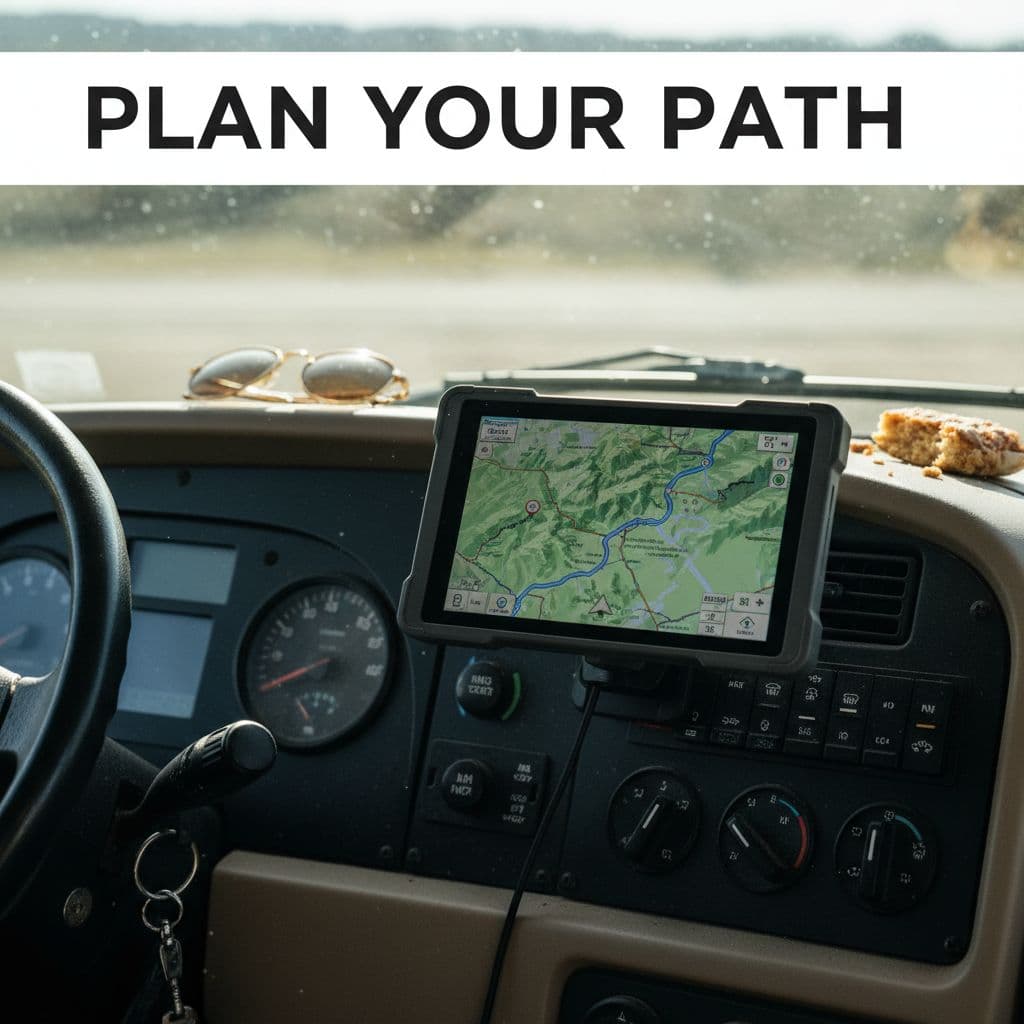
A second layer helps. Coach-Net strongly recommends pairing digital tools with a truckers’ atlas and mountain directory. A printed atlas will not reroute you in traffic, but it does show the bigger picture. That matters when you want to avoid old town centers, parkways, and narrow secondary roads.
This quick comparison helps when you decide what stays on the dash:
| Tool | What it does well | Where it can fail |
|---|---|---|
| Phone GPS | Traffic, ETAs, quick reroutes | May ignore RV height limits |
| RV-specific GPS | Routes with RV restrictions in mind | Still depends on current map data |
| Truckers’ atlas | Big-picture route screening | No live road updates |
| Road signs | Final warning at the road | Easy to miss if you rush |
The safest setup uses more than one source, because each one catches a different problem.
When you plan the day’s drive, zoom in on the last few miles too. Many low-clearance problems show up near fuel stops, city edges, and the final turn into town. A route can look safe for 250 miles, then go wrong on the last two.
Drive with a backup plan when the road changes
Even a good route can change once you are moving. Construction pops up. Local police redirect traffic. A missed turn sends you onto streets you never meant to use.
That is why the best RV route planning always includes an exit option. Before you leave, look at the major alternate roads along your day’s drive. If your main route closes, you will already know which highway or state road gives you a safe detour. That little bit of prep lowers panic fast.
Parkways deserve special caution. Many were built for passenger cars long before tall recreational vehicles filled the road. These low-clearance hazard tips point out the same issue many RV owners learn the hard way: parkways and older scenic roads can hide height limits, tight turns, and hard exits.
Road signs still outrank the screen. If your GPS says go forward but the bridge sign says otherwise, trust the sign. Pull over when it is safe. Check the map again. Call the campground if you are close and need the best final approach. Most parks know which road big rigs should use, and which one to skip.
Try to arrive before dusk as well. Daylight makes every clearance sign, branch, and narrow lane easier to spot. That one habit helps seniors, weekend travelers, and van life couples alike. Less rushing almost always means fewer mistakes.
Small habits that make every camping trip easier
Safe routing is not only about technology. It is about routine. A short pre-drive check can keep a small problem from becoming a broken roof.
Write your RV height on a card. Review the route before moving. Check the last miles into the campground. Watch for local warning signs. Then stop and verify anything that feels off. That rhythm gets easier with practice, and it works whether you drive a Class C, tow a fifth wheel, or travel in a van life setup with extra gear on top.
Many full time rv’ers also keep a paper note with campground phone numbers, alternate highways, and fuel stops that fit taller rigs. That habit pays off when cell service drops or an app freezes. It is old-school, but it still works.
Another smart move is to keep learning from other travelers. RV Life Insider shares practical travel ideas, route help, gear coverage, and camping tips that fit real trips, not fantasy road trips. You can View Our Website for travel guides, planning tools, and community resources. You can also View All Our Newsletters if you like useful updates in your inbox before your next camping run.
The goal is a calmer day behind the wheel. When your route is clear and your backup plan is ready, the drive feels lighter from the first mile to the campsite.
Final thoughts
A low bridge is not a surprise if you plan for it early. Know your true height, use RV-friendly tools, trust posted signs, and keep a backup route ready.
The strongest habit is also the simplest: never guess on clearance. A careful pause protects your rv far better than a fast decision ever will.
This post may contain affiliate links. If you make a purchase through these links, I may earn a small commission at no extra cost to you.